Photoshop做网站导航栏图片
2022-12-26 14:04:59
来源/作者: /
己有:16人学习过
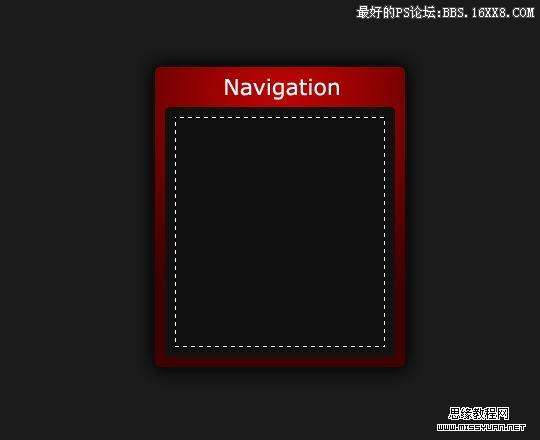
步骤 8、按住 Ctrl 并点击黑色方框层获得选区,选择 >> 修改 >> 收缩,收缩10px。
步骤 9、创建新图层,使用白色到透明渐变(径向)填充选区。
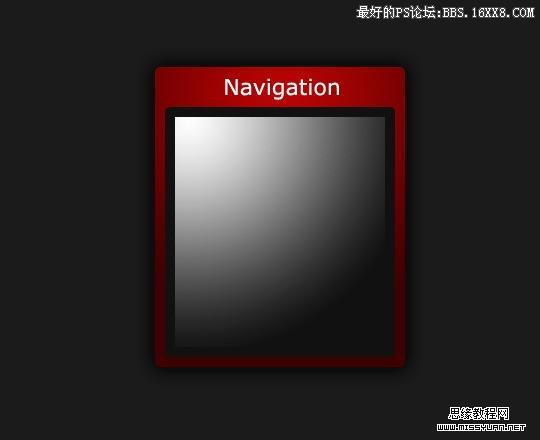
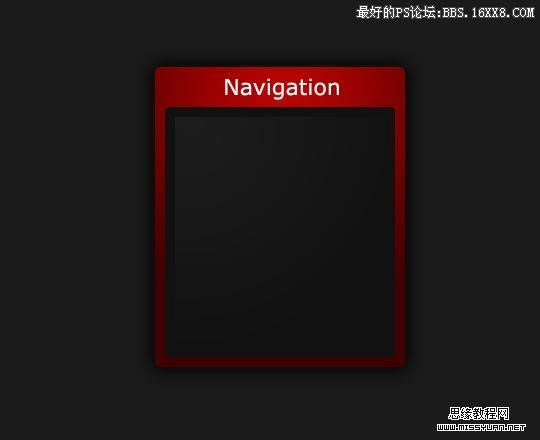
步骤 10、将图层不透明度设为5%。
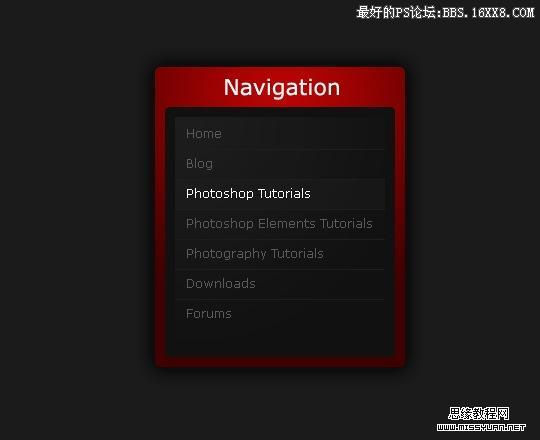
步骤 11、输入导航项目。

步骤 12、使用矩形选框工具在各项之间建立 210 x 1px 的选区,并用#1e1e1e填充。
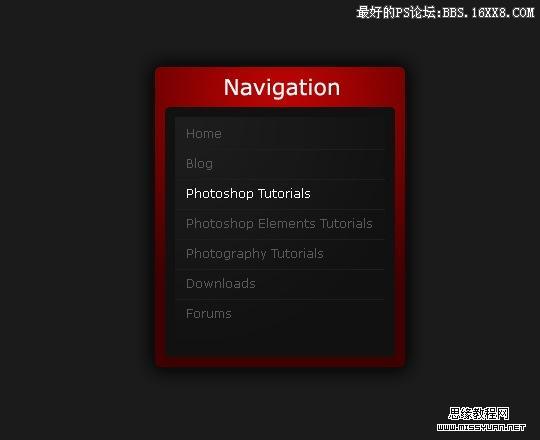
步骤 13、制作激活状态下栏目效果。在文字层下方创建图层,使用矩形选框工具建立 210 x 30px 的选区,并用#171717填充。
相关推荐

简易画猫头鹰的步骤 画猫头鹰的简

ps CS4 工具学习之——
ps CS4 工具学习之——
ps CS4 工具学习之——

Photoshop制作清凉的水中展示网页

Photoshop制作大气的网页设计主页

阴影教程,超详细的各种阴影的制作方法

Photoshop制作炫酷的PK类网站Banner


