photoshop制作简单的Digg LOGO
2022-12-26 14:17:35
来源/作者: /
己有:16人学习过
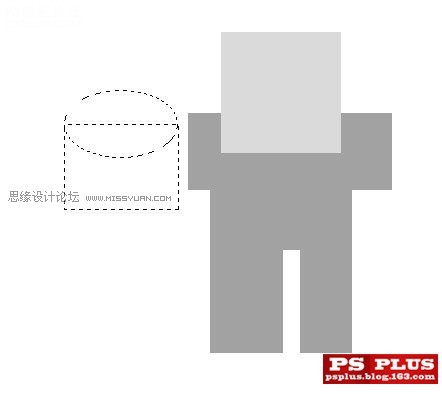
1 绘制基本图形
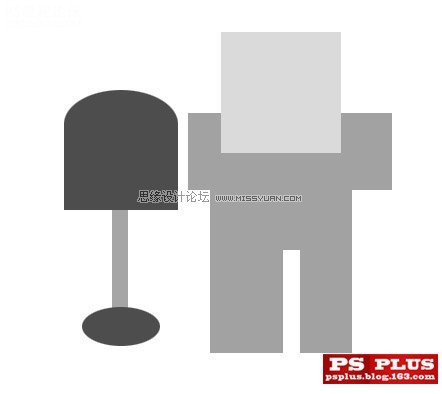
这一步非常简单。用选框工具拉选区。然后按图示填充上颜色就行了。每个形状都单独放在一个图层里。

2 设置图层样式
这一步是出效果的步骤。很简单。但是也很2.0

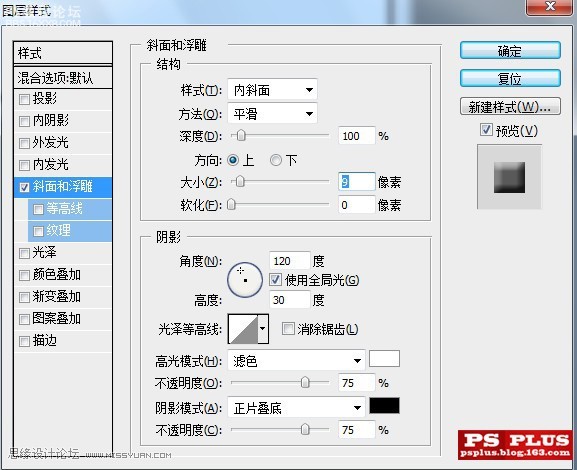
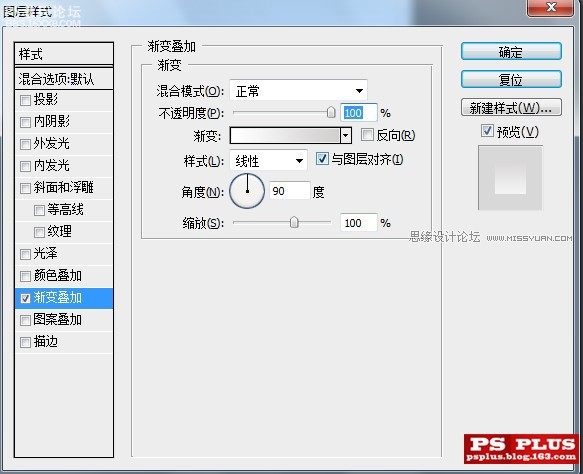
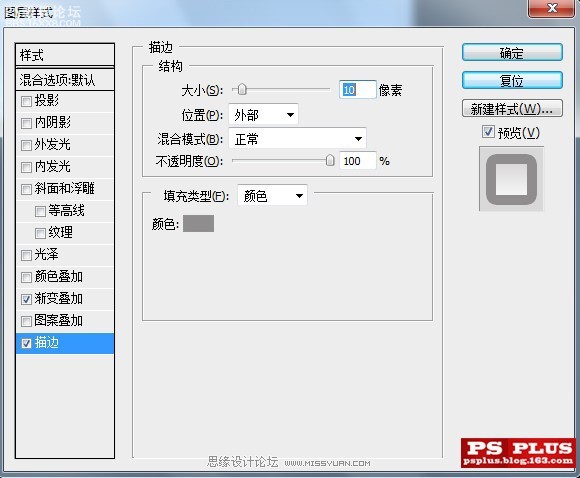
对所有的图层都应用以上4个样式。除了铲子的握柄那一层。最后对铲子头那一层垂直拉一个深灰到浅灰的线性渐变。适当设置渐变层的不透明度。那我们就得到了最后效果。

结束。
作者: 出处:網絡
这一步非常简单。用选框工具拉选区。然后按图示填充上颜色就行了。每个形状都单独放在一个图层里。
2 设置图层样式
这一步是出效果的步骤。很简单。但是也很2.0
对所有的图层都应用以上4个样式。除了铲子的握柄那一层。最后对铲子头那一层垂直拉一个深灰到浅灰的线性渐变。适当设置渐变层的不透明度。那我们就得到了最后效果。
结束。
作者: 出处:網絡
上一篇:UI视频, 设计中得美术基础
相关推荐

ps cs6设计龙主题LOGO教程

火焰Logo教程

用ps制作蘑菇logo教程

ps两步制作Google Logo教程

Photoshop制作清凉的水中展示网页

Photoshop制作大气的网页设计主页

阴影教程,超详细的各种阴影的制作方法

Photoshop制作炫酷的PK类网站Banner


