ps打造绚丽的儿童节海报
2022-12-26 06:37:11
来源/作者: /
己有:12人学习过
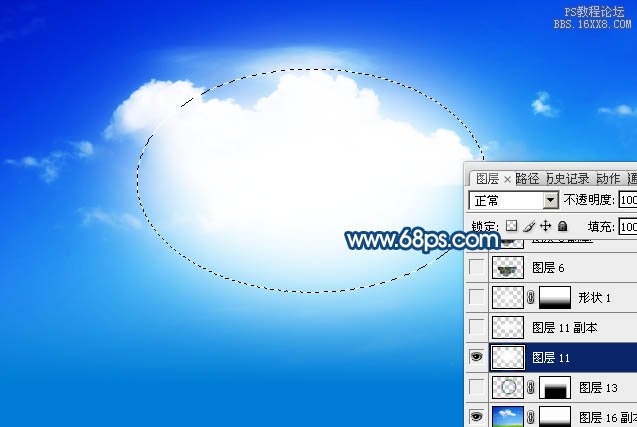
4、新建一个图层,用椭圆选框工具拉出下图所示的椭圆选区,按Ctrl + Alt + D 羽化80个像素后填充白色,效果如下图。
5、把前景颜色设置为白色。选择多边形工具,在属性栏设置参数如图5,然后拉出图6所示的放射光束,拉好后把图层不透明度改为:20%。
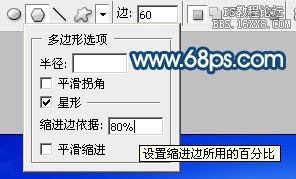
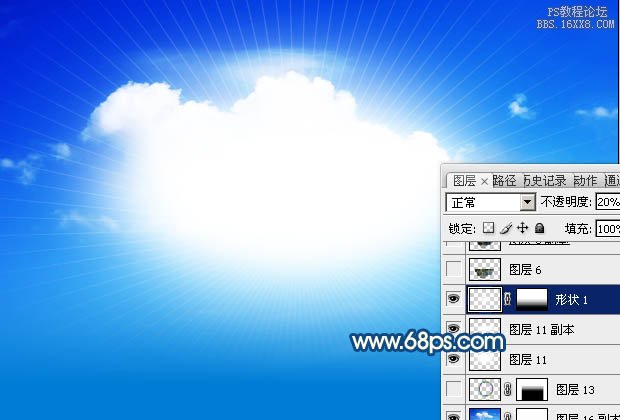
5、把前景颜色设置为白色。选择多边形工具,在属性栏设置参数如图5,然后拉出图6所示的放射光束,拉好后把图层不透明度改为:20%。
相关推荐
教你怎样合成一张田野背景壁纸

壁纸教程,设计条纹背景壁纸教程

ps cc制作简洁的背景壁纸教程

背景教程,用PS制作彩色梦幻栅格化背

图片变清晰,使用PS让模糊图片变清晰的方法教程

PS调出晶莹洁白肤色商业人像照片效果

PS调出唯美金黄色树叶背景甜美女生照片

调出高清质感暗色草原风景图片的PS教程


