ps制作证件照教程
2022-12-26 05:45:32
来源/作者: /
己有:44人学习过
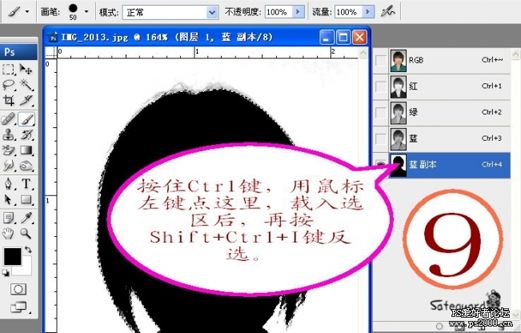
第九步:
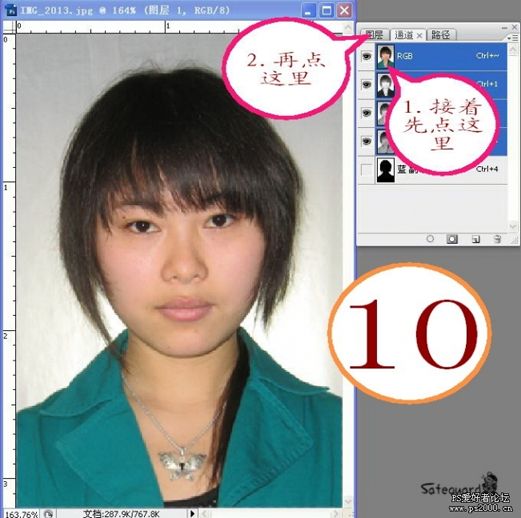
第十步:
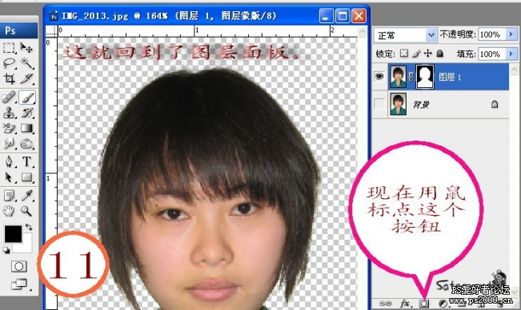
第十一步:
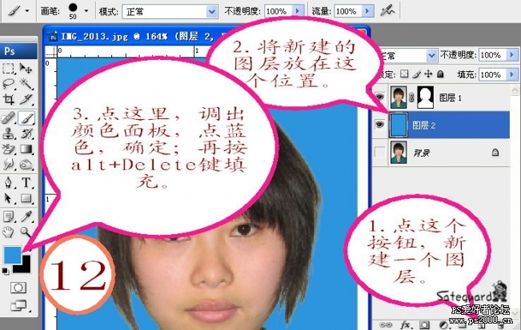
第十二步:本步你也可以不选蓝色,在弹出的颜色面板中任意选你喜欢的颜色。
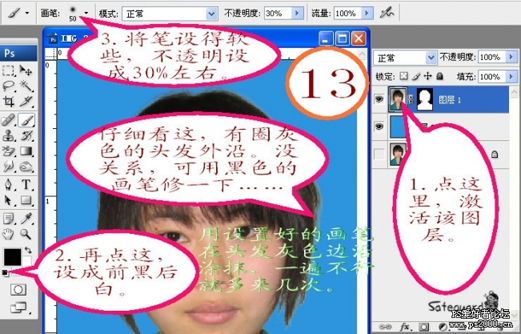
第十三步:本步中如果人物头发不是黑色,可用左边工具面板中的“吸管”工具在头发上吸一下,再改用画笔工具涂抹。
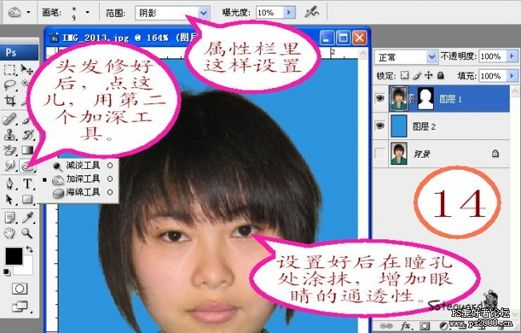
第十四步:(仅是修饰,可以跳过不做。)
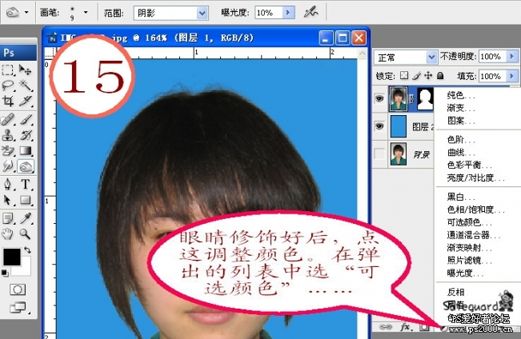
第十五步:(仅是修饰,可以跳过不做。)
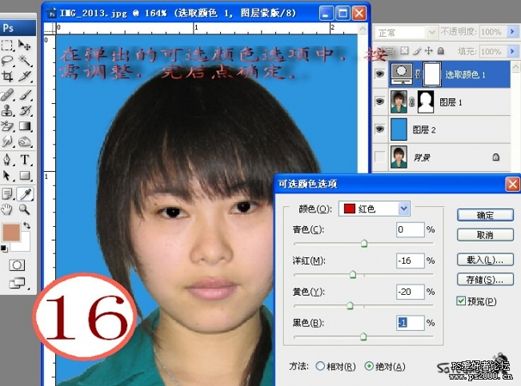
第十六步:(仅是修饰,可以跳过不做。)
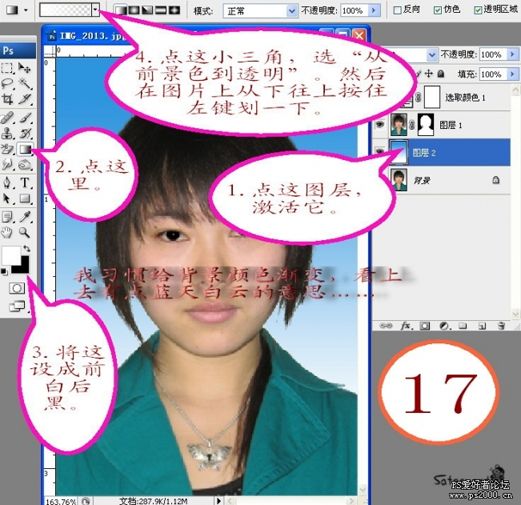
第十七步:(仅是修饰,可以跳过不做。)
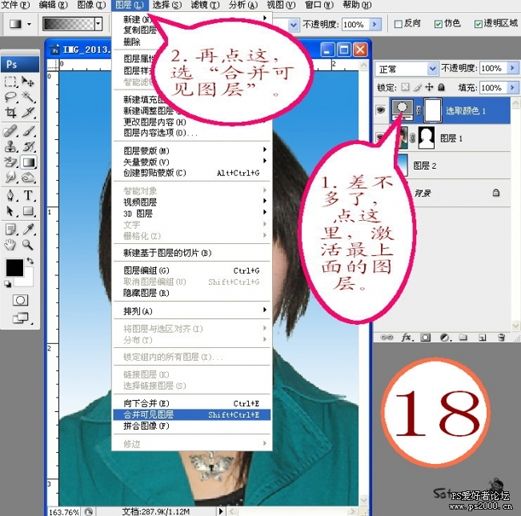
第十八步:
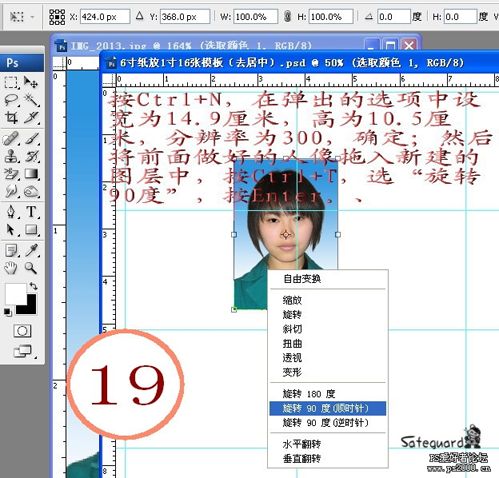
第十九步:
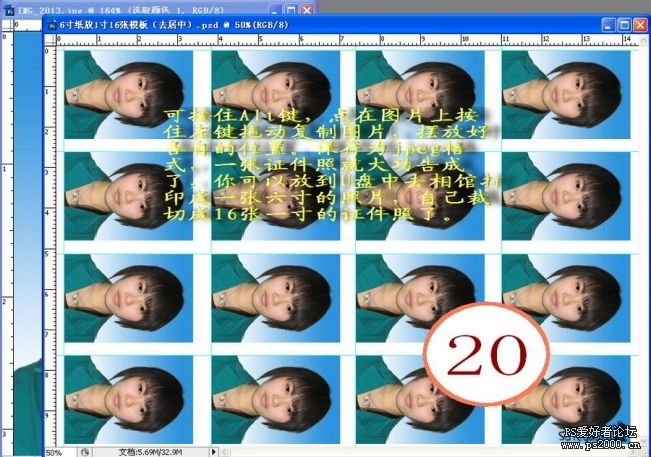
第二十步:可按住Alt键,鼠标点在图片上按住左键拖动的方法复制图片,然后摆放好各自的位置。点“文件”
“另存为”jpeg格式,这张证件照就大功告成了。你可以放到U盘中去相馆中打印成一张6寸的相片,
自己裁切成16张一寸的照片。
相关推荐

ps cs6制作涂鸦字效果教程

ps cs6制作一把折扇教程

利用ps cs6的3D功能制作漂亮立体字

介绍如何原生地去制作设计素材

图片变清晰,使用PS让模糊图片变清晰的方法教程

PS调出晶莹洁白肤色商业人像照片效果

PS调出唯美金黄色树叶背景甜美女生照片

调出高清质感暗色草原风景图片的PS教程


