撕边效果,给照片添加一种撕边效果
2023-12-20 17:20:58
来源/作者: /
己有:0人学习过
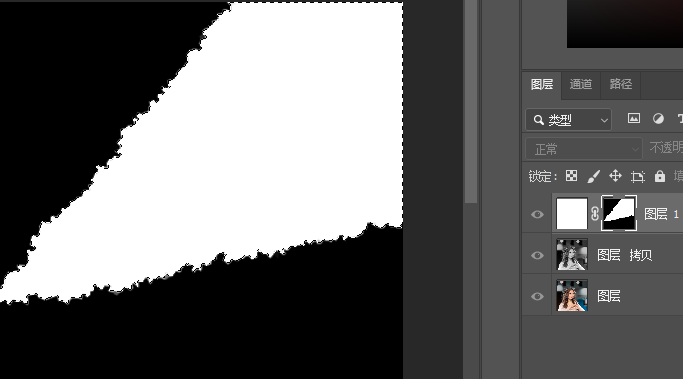
5、按住Alt键的同时用鼠标点击蒙版缩略图;

6、滤镜(T)→像素化→晶格化;
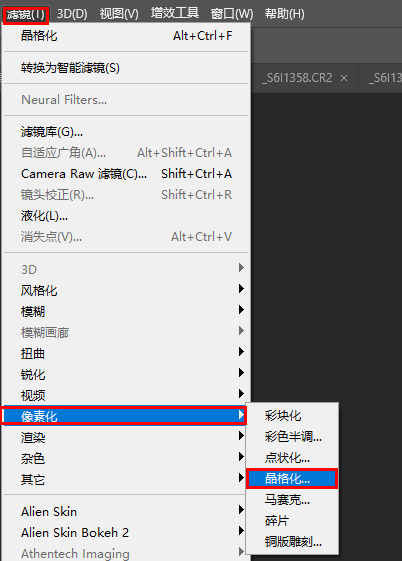
7、调整一下单元格大小40左右吧;

8、按住Ctrl键的同时鼠标点击蒙版缩略图,出现蚂蚁线;
9、选择(S)→修改(M)→收缩(C);
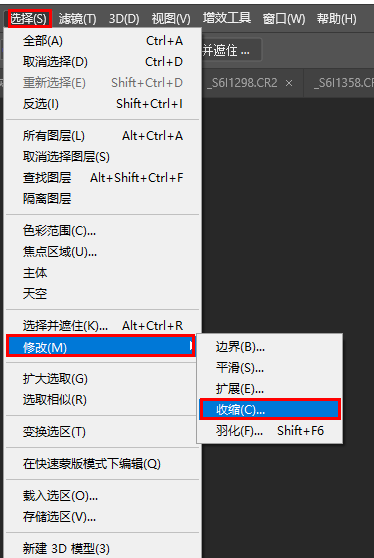
10、收缩30个像素;

11、Ctrl+Shift+N(新建图层)Ctrl+Del(填充黑色);

12、Ctrl+D取消选区,把“图层”移到最上面

13、鼠标放在“图层”上,点击鼠标右键,选择【创建剪切蒙版】
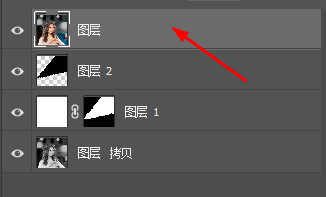


14、鼠标选中“图层1”不透明度改为100;

15、选中“图层2”添加图层样式,选中内“内阴影”,调整参数满意为止;

完成:
 新手学PS请到:
相关推荐

双重曝光,手把手教你用ps做重影效果

打散人像,ps打散效果教程

ps制作人脸文字效果教程

打散人像,ps像被风吹散的人像照片效

如何用PS把浑浊的风景照片调出通透清晰

PS商业修图师对人物头发进行精修教程

如何用PS打造出明亮而有神的眼睛效果

PS商业修图给人像增强光影质感的方法介绍


