Photoshop为数码照片制作立体水晶相框
2022-12-25 20:39:20
来源/作者: /
己有:34人学习过
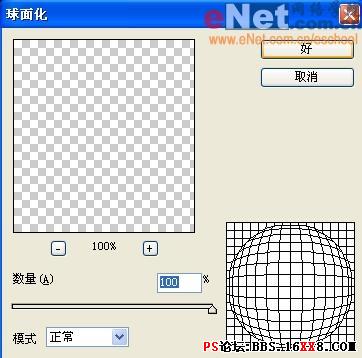
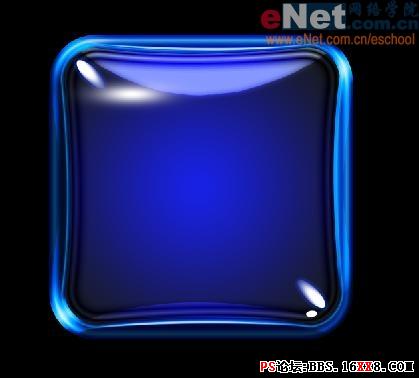
23、执行菜单栏中的“滤镜”“扭曲”“球面化”命令,在弹出的对话框中将数量设置为100,如图31所示,图像效果如图32所示。

24、复制图层9为图层9副本的图形进行旋转并拖拽到合适位置,效果如图33所示。
25、新建图层10,单击工具箱中的铅笔工具,选择尖角20,在画面中绘制圆点,效果如图34所示。单击工具箱中的涂抹工具,再圆点上适当涂抹,图像效果如图35所示。


标签(TAG) 效果教程
相关推荐

ps设计创意墙主题壁纸

ps设计香蕉主题桌面壁纸
ps放射线背景

ps蓝色调子的桌面壁纸设计

如何用PS把浑浊的风景照片调出通透清晰

PS商业修图师对人物头发进行精修教程

如何用PS打造出明亮而有神的眼睛效果

PS商业修图给人像增强光影质感的方法介绍


