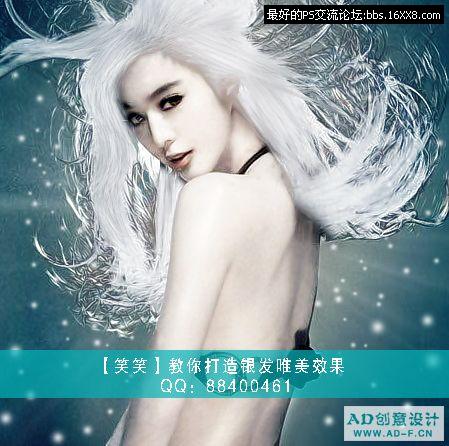
photoshop效果教程:把范冰冰的头发染白
2022-12-25 21:00:16
来源/作者: /
己有:16人学习过
10、下面是我们的修饰环节,用选区工具选中中间人身体的部位,羽化一下,继续吧。

用曲线降低人周围的色调,可以更好的突出人物来。
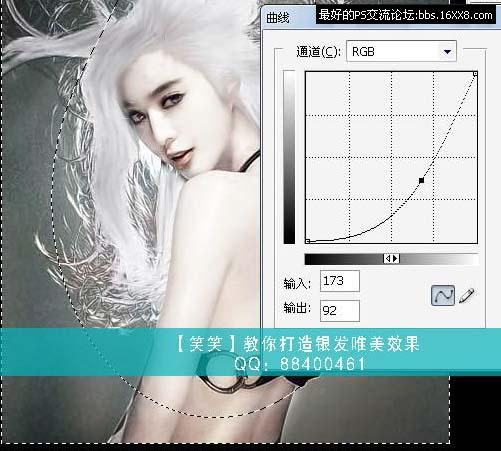
为了更好搭调点我们用色彩平衡,选阴影区,加点蓝。

为了更有动感我们用笔刷工具加点效果来 。
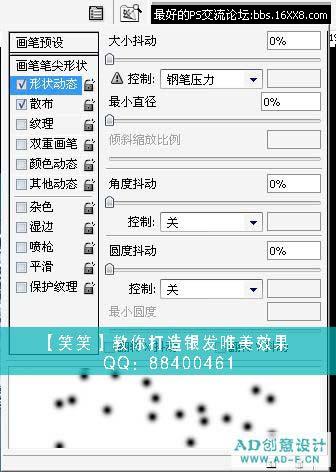
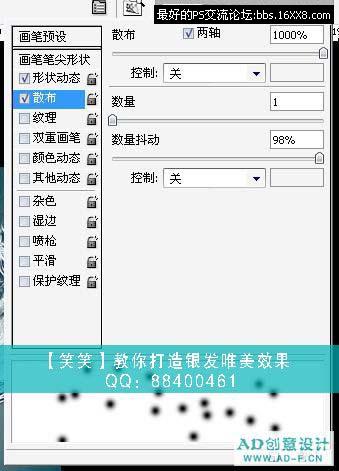
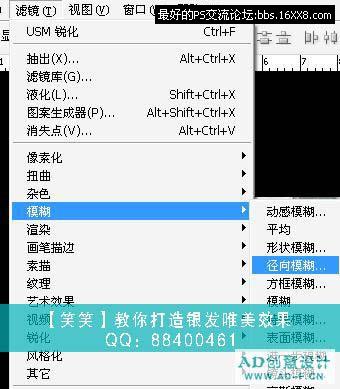
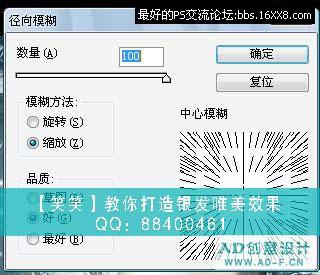
前景色用白色,在画上随意画出来,在选择径向滤镜,。
这个调整数值。
滤镜后的效果,效果出来了,该收工了。
搜索更多相关主题的帖子: ps效果教程 photoshop教程
相关推荐

ps合成水人效果教程

ps范冰冰合成图教程(14p)

ps合成火炎人像效果教程

ps人像合成艺术作品效果教程

如何用PS把浑浊的风景照片调出通透清晰

PS商业修图师对人物头发进行精修教程

如何用PS打造出明亮而有神的眼睛效果

PS商业修图给人像增强光影质感的方法介绍


