photoshop做黄昏雪景效果
2022-12-25 18:03:19
来源/作者: /
己有:30人学习过
10、再创建曲线调整图层,参数设置如图18-21,效果如图22。

图18
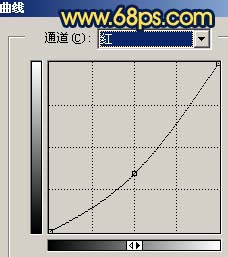
图19
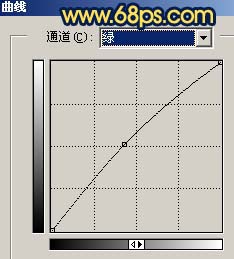
图20

图21
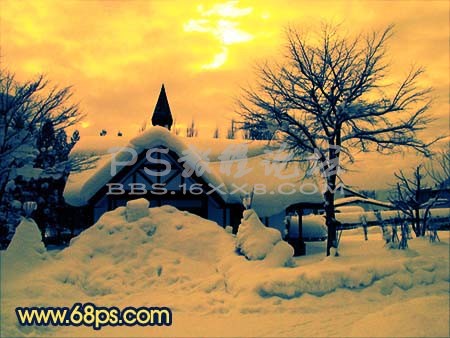
图22
11、新建一个图层,盖印图层,整体修饰下细节,完成最终效果。
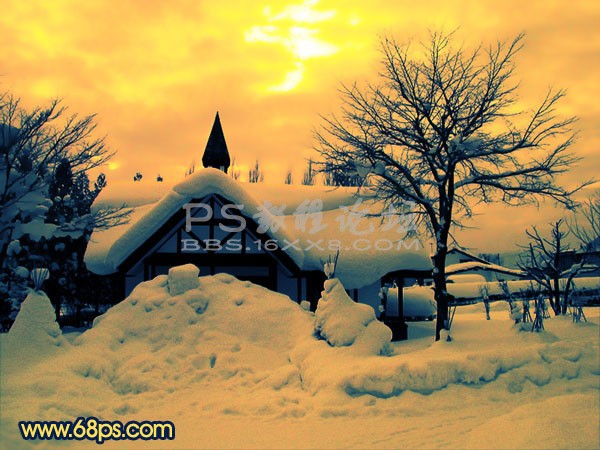
图18
图19
图20
图21
图22
11、新建一个图层,盖印图层,整体修饰下细节,完成最终效果。
标签(TAG) 元素效果 雪景效果 学photoshop
上一篇:桔子教你做抽线效果详解
相关推荐

雪景效果,在PS中给照片制作雪景效果

雪景效果,通过PS把数码照片转成古风

ps做雪景效果

雪景效果,给古装人像照片添加一种唯

如何用PS把浑浊的风景照片调出通透清晰

PS商业修图师对人物头发进行精修教程

如何用PS打造出明亮而有神的眼睛效果

PS商业修图给人像增强光影质感的方法介绍


