ps闪图教程
2022-12-25 10:54:23
来源/作者: /
己有:25人学习过
此教程使用的版本是CS3,CS2 9.0以下的版本是没有动画的,只有IR。
很多同学制作好后不会保存,现在特意说明一下保存的时候一定要保存为GIF格式图片才会动。点击“文件”--“存储为WEB和设备所用方式”,或者按快捷键Shift+Ctrl+Alt+S
效果图

原图
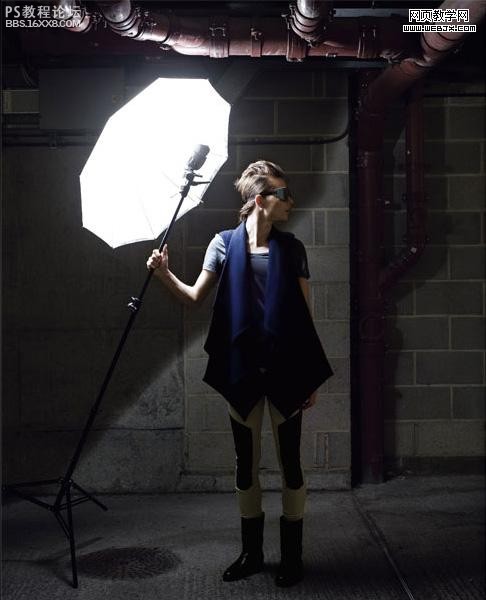
首先、在PS中 打开一张图片,然后按 Ctrl+J 复制图层
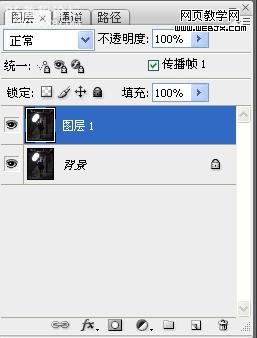
接着把图层1模式改成滤色

打开窗口选项中的动画(窗口--动画)

点下面的按钮复制帧

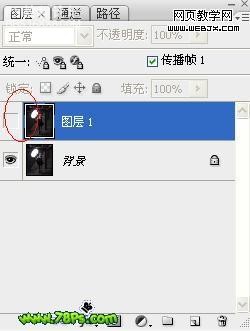
把图层1前面的小眼睛去掉
设置帧延迟、选0.1秒

点播放键(向右的小三角)可查看效果
最后点文件选项里的存储为WEB和设备所用方式
也可直接使用快捷键 Shift+Ctrl+Alt+S

按存储,结束
, 补充下利用滤镜作出更多风格的闪图
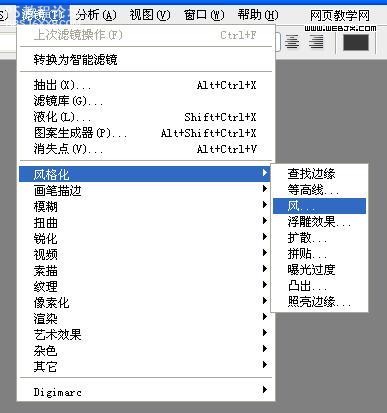
点滤镜——风格化——风

滤镜 ——扭曲——挤压

滤镜——模糊——动感模糊

滤镜——渲染——分层云彩
来源:U9U8游戏论坛
很多同学制作好后不会保存,现在特意说明一下保存的时候一定要保存为GIF格式图片才会动。点击“文件”--“存储为WEB和设备所用方式”,或者按快捷键Shift+Ctrl+Alt+S
效果图
原图
首先、在PS中 打开一张图片,然后按 Ctrl+J 复制图层
接着把图层1模式改成滤色
打开窗口选项中的动画(窗口--动画)
点下面的按钮复制帧
把图层1前面的小眼睛去掉
设置帧延迟、选0.1秒
点播放键(向右的小三角)可查看效果
最后点文件选项里的存储为WEB和设备所用方式
也可直接使用快捷键 Shift+Ctrl+Alt+S
按存储,结束
, 补充下利用滤镜作出更多风格的闪图
点滤镜——风格化——风
滤镜 ——扭曲——挤压
滤镜——模糊——动感模糊
滤镜——渲染——分层云彩
来源:U9U8游戏论坛
上一篇:用滤镜制作揉卷的丝绸特效
相关推荐

PhotoShop制作快速渐隐的文字闪图

photoshop教你利用滤镜打造小清新镜头光晕

用抽出滤镜对毛发抠图的PS教程

用PS抽出滤镜对毛毛虫图片抠图换背景

用抽出滤镜抠图的几种方法


