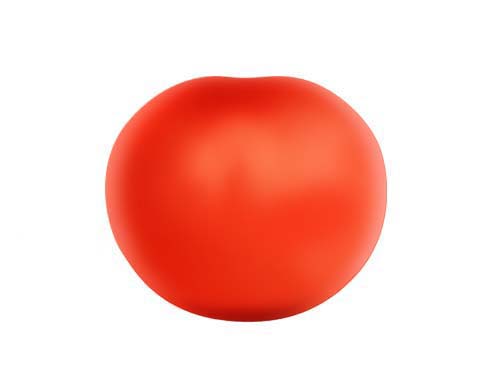
用PS鼠绘西红柿
2023-12-14 17:35:22
来源/作者: /
己有:0人学习过
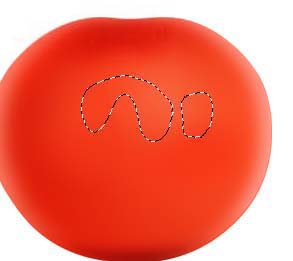
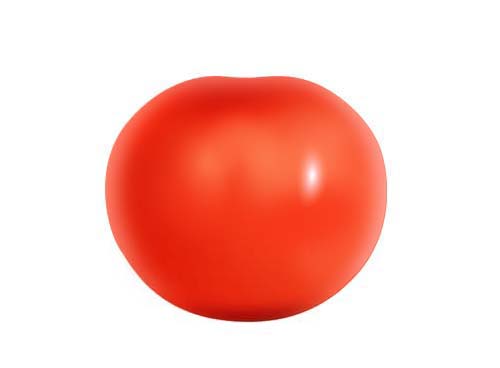
5、按Ctrl点图层面板“主体”图层缩略图调出选区,新建一个图层填充颜色:#FE9C90,加上图层蒙版,只保留图8虚线区域部分,其它部分用黑色画笔擦掉,效果如图9。
![](https://img.lvups.com/d/file/bigpic/2022/12/26/w5nmoihtrgv.jpg)
![](https://img.lvups.com/d/file/bigpic/2022/12/26/p2iu0i4es5t.jpg)
6、同样的方法制作左边高光部分,如图10。
![](https://img.lvups.com/d/file/bigpic/2022/12/26/tjzuirg1vca.jpg)
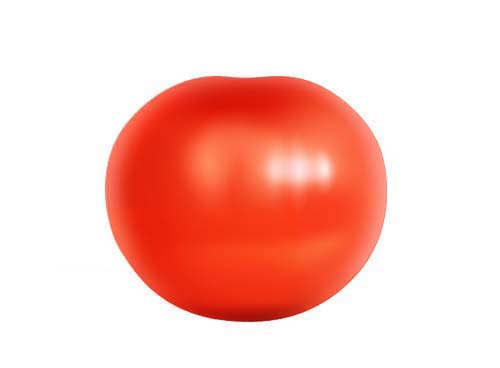
7、新建一个图层,把前景色设置为:#FE8559,选择画笔工具把图11所示区域图上高光,效果如图12。
![](https://img.lvups.com/d/file/bigpic/2022/12/26/1poi32rf3be.jpg)
![](https://img.lvups.com/d/file/bigpic/2022/12/26/s2l1veqlgi5.jpg)
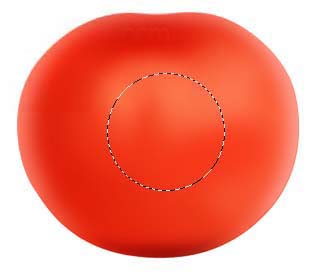
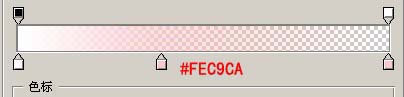
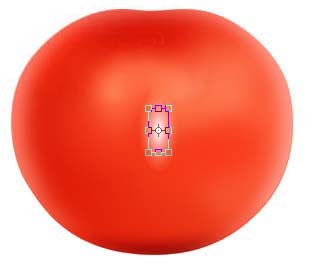
8、新建一个图层,用椭圆选框工具拉出图13所示的正圆,选择渐变工具颜色设置如图14,由正圆中心拉出图15所示的径向渐变。
![](https://img.lvups.com/d/file/bigpic/2022/12/26/azhoxjrur1q.jpg)
![](https://img.lvups.com/d/file/bigpic/2022/12/26/aec0i11c0eq.jpg)
![](https://img.lvups.com/d/file/bigpic/2022/12/26/lnpj3tsomw5.jpg)
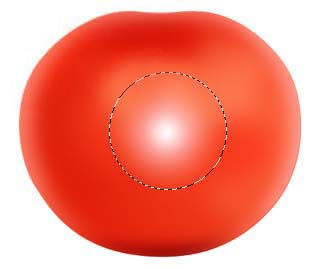
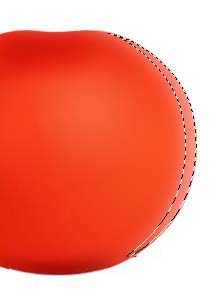
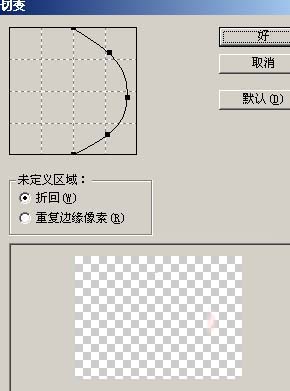
9、取消选区后按Ctrl + T变形处理,如图16,确定后执行:滤镜 > 扭曲 > 切变,参数设置如图17,确定后再适当调整好位置和大小,如图18。
![](https://img.lvups.com/d/file/bigpic/2022/12/26/mb22q1jqofo.jpg)
![](https://img.lvups.com/d/file/bigpic/2022/12/26/4novh2vd0s5.jpg)
![](https://img.lvups.com/d/file/bigpic/2022/12/26/pfasdjj2nxg.jpg)
10、同样的方法制作其它的高光点。
![](https://img.lvups.com/d/file/bigpic/2022/12/26/f4l14wzlnqf.jpg)
上一篇:ps鼠绘五彩珠链教程
下一篇:ps绘制一个裂开的番茄效果教程