PS鼠绘泡泡教程
2023-10-22 17:18:39
来源/作者: /
己有:1人学习过
4.一个是中间的这一陀,加上外发光的效果,上面再叠加一层不透明度高一点的图层。


5.我把中间的反光隐藏掉了,开始画明暗交界线,也是路径画好用橡皮修改。还是叠加了两层。
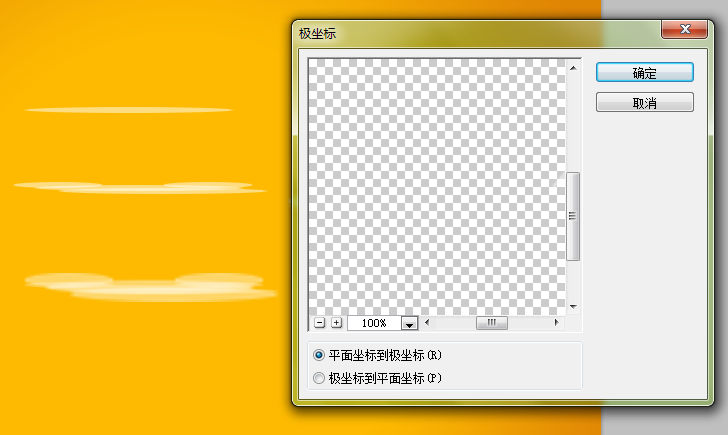
6.另外就是气泡上这些让层次更丰富的弧线。

做法是先画扁扁的椭圆,不透明度50%左右,多画几个,然后合并图层。也可以将合并后的图层复制后ctrl+t拉高,再合并一次,更丰富。然后,滤镜>扭曲>极坐标。我做了两种不同大小和透明度的弧线。弧线的大小要小于整体的圆。

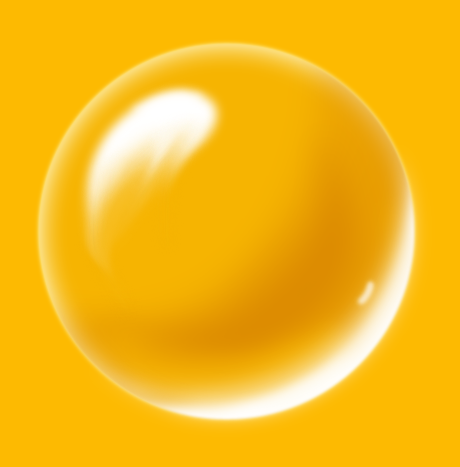
7.现在就是这个样子了。

下一篇:ps cs6鼠绘红色水杯教程
相关推荐

ps设计网页按钮教程

微信教程,教你自己做一个动态二维码

用ps制作关于我们按钮

设计思路,淘宝官方活动页面设计制作

Photoshop钢笔工具绘制逼真的头发教程

鼠绘袋子,绘制一个透明的塑料袋教程

PS绘画变形金刚中的霸天虎

绘画人像,皱纹雀斑疤痕的绘制方法


