Photoshop 水墨画技法
2022-12-26 18:09:40
来源/作者: /
己有:39人学习过
Photoshop 水墨画技法先看效果图:
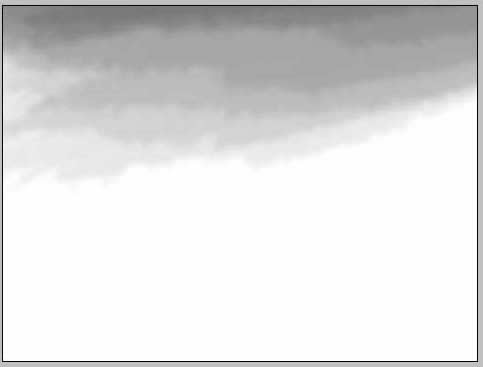
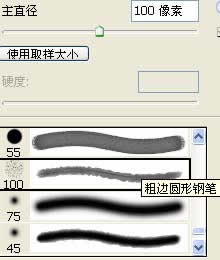
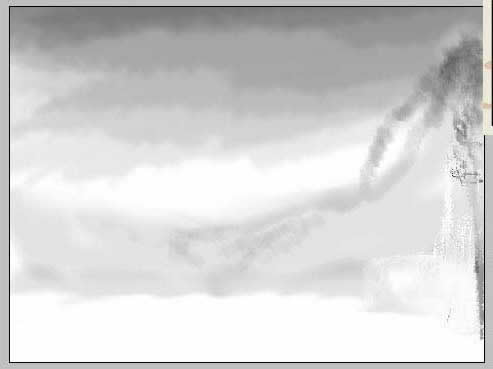
 新建文件/用粗边圆形钢笔在天空的地方,分步分浓淡涂抹出云层:
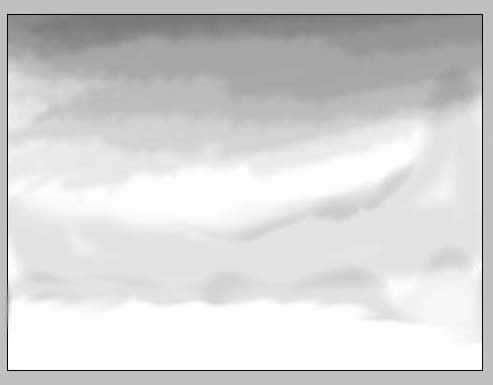
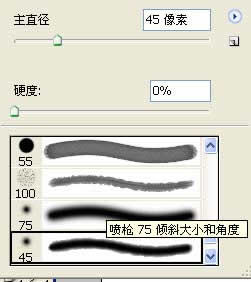
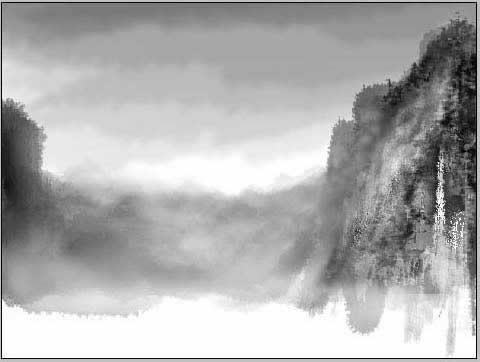
用喷枪喷出大体的山形:
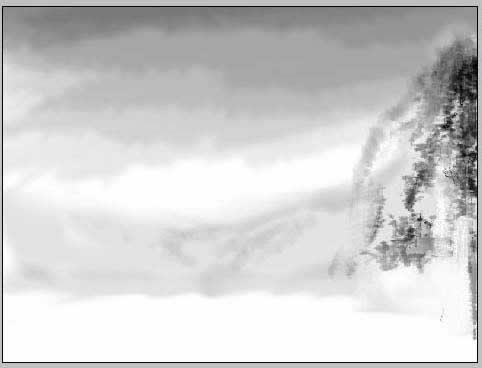
 进一步描出山的轮廓:
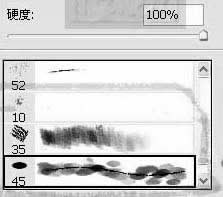
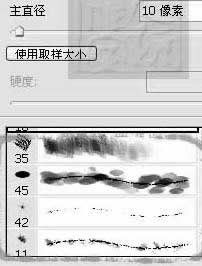
制作自己需要的笔刷:
用自己制作的笔刷描出山石和树木:
用粗边圆形钢笔涂抹出远处的山体,掌握好远近浓淡。用减淡工具弱化远山,产生云雾的感觉:
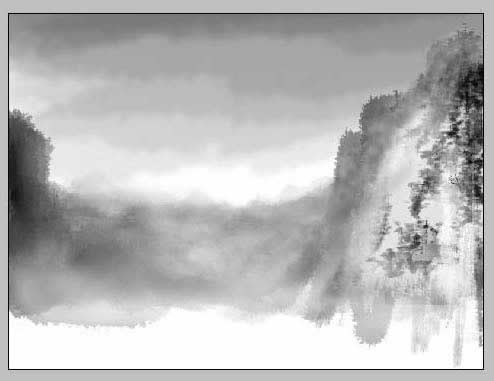

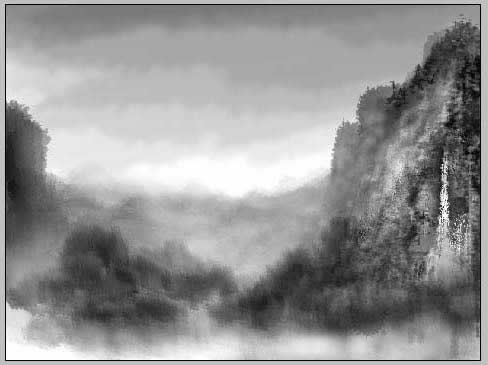
进一步刻画近处的山体和树木,用白色画出瀑布:
 用自制的笔刷 涂抹出近处的山林,注意虚实浓淡才能产生云雾感,注意整体的
色彩关系:
新建图层(忘记告诉了,每一步都最好新建图层,以便观察和修改。)/描绘
近处的人家以及林木,刻画好细部:

为了体现人家与其背景的层次感,我们对人家这一图层进行复制/反像,并把这
一图层拖放到人家图层的下面,然后错位,产生浮雕感,突出人家户:


整体观察,局部调整,细部刻画,提款,盖印(PS制作的)。OK 大功告成
新建文件/用粗边圆形钢笔在天空的地方,分步分浓淡涂抹出云层:用喷枪喷出大体的山形:
进一步描出山的轮廓:制作自己需要的笔刷:
用自己制作的笔刷描出山石和树木:
用粗边圆形钢笔涂抹出远处的山体,掌握好远近浓淡。用减淡工具弱化远山,产生云雾的感觉:
进一步刻画近处的山体和树木,用白色画出瀑布:
用自制的笔刷 涂抹出近处的山林,注意虚实浓淡才能产生云雾感,注意整体的色彩关系:
新建图层(忘记告诉了,每一步都最好新建图层,以便观察和修改。)/描绘
近处的人家以及林木,刻画好细部:
为了体现人家与其背景的层次感,我们对人家这一图层进行复制/反像,并把这
一图层拖放到人家图层的下面,然后错位,产生浮雕感,突出人家户:
整体观察,局部调整,细部刻画,提款,盖印(PS制作的)。OK 大功告成
搜索更多相关主题的帖子:Photoshop 技法 水墨画 钢笔 天空
简单的,我们教你,深奥的,你来分享上一篇:PS绘出心灵内的倾诉
相关推荐

ps cs6制作涂鸦字效果教程

ps cs6制作一把折扇教程

利用ps cs6的3D功能制作漂亮立体字

介绍如何原生地去制作设计素材

Photoshop钢笔工具绘制逼真的头发教程

鼠绘袋子,绘制一个透明的塑料袋教程

PS绘画变形金刚中的霸天虎

绘画人像,皱纹雀斑疤痕的绘制方法