两张图片合成一张:为美女加纹身图效
2022-12-26 01:26:10
来源/作者: /
己有:26人学习过
今天要跟大家分享的小技巧是人像合成编修,运用简单的技巧帮你的人像加上帅气的刺青,并简单的调整颜色,让照片看起来更梦幻,准备好了吗?赶快打开你的Photoshop,跟着文章一起实际操作看看吧!
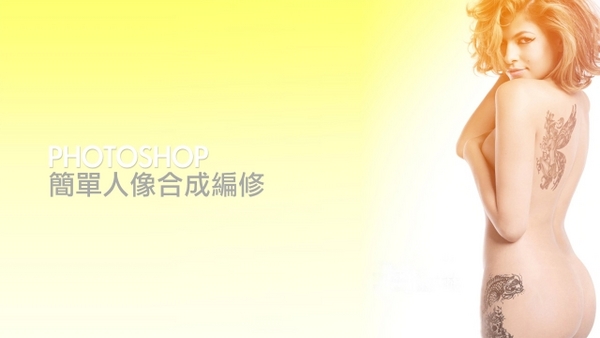
这是我们今天准备的示范照片,身材真火辣啊,打开Photoshop并把照片放进去吧!

开始啦,我门先从合成刺青开始吧!
将我们准备好的刺青图腾丢进我们的图层。

接着使用变形工具将图案大小缩放至所需的大小。

使用Warp变形(中文名称为弯曲),将图案调整符合身体的曲线弧度。

这边就看各位朋友想将刺青图腾放在哪边,然后自行针对身体的弧度作调整。

调整完成之后,我们将图层混合模式更改为线性加深,并稍微降低透明度至60%。

接着准备今天的第二个刺青图腾。

同样使用变型工具调整大小。

弯曲变形调整图腾的弧度符合身体曲线。

更改混合模式,同样稍微降低透明度。

上一篇:用ps合成死亡场景-骷髅与玫瑰
下一篇:利用汽车零件合成变形金刚
相关推荐

PS设计制作网页专题顶部图片教程

ps制作立体游戏应用图标设计教程

倒影效果,在ps中给商品制作倒影

阴影效果,制作网页常见的图片投影效

合成行驶在梦幻森林中火车照片的PS教程

合成恐怖灵异双重曝光头像照片的PS教程

PS合成明亮夜色下的天使白狼场景图片

战争海报,PS合成战争电影主题海报图片设计教程


