photoshop合成照片教程:战争飞弹场面
2022-12-26 00:55:13
来源/作者: /
己有:59人学习过
创建3个调整图层

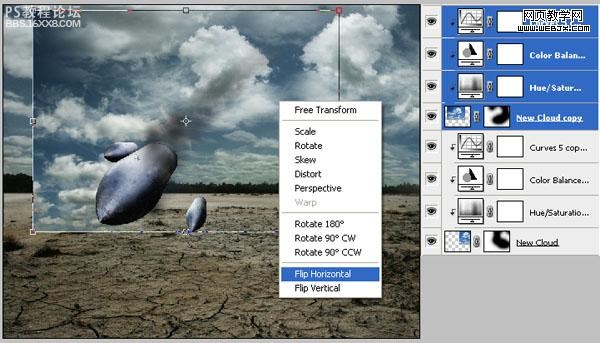
选择云图层和3个调整图层,然后复制,按CTRL+T调整大小,然后右击水平翻转
再次用画笔涂抹云的蒙板
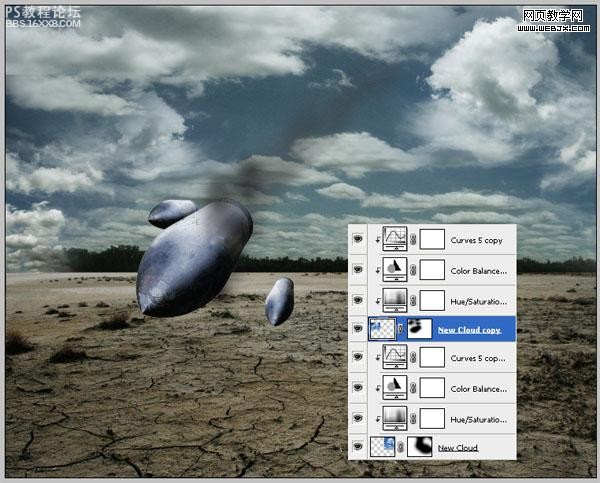
,这时的效果
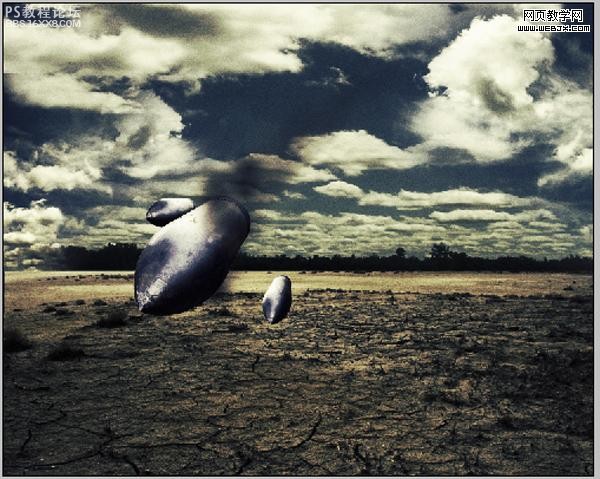
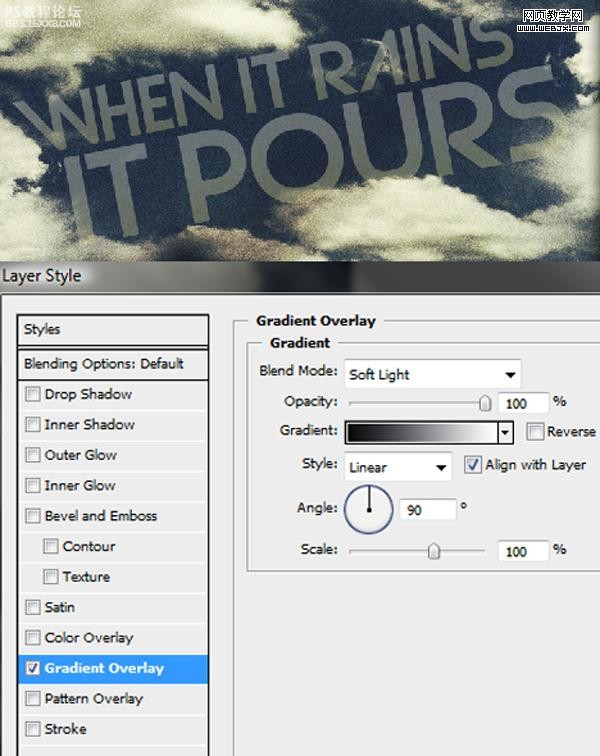
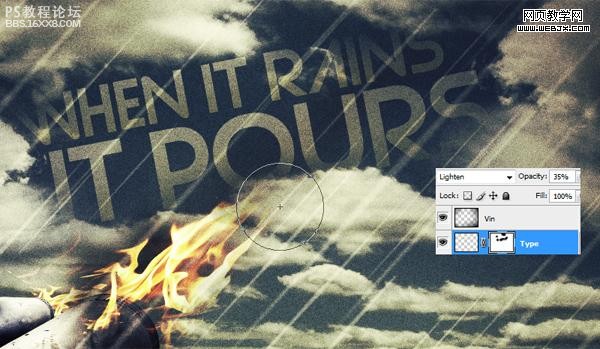
在云彩的中间添加文字,然后设置图层样式。图层不透明度设置为35%,效果如下。
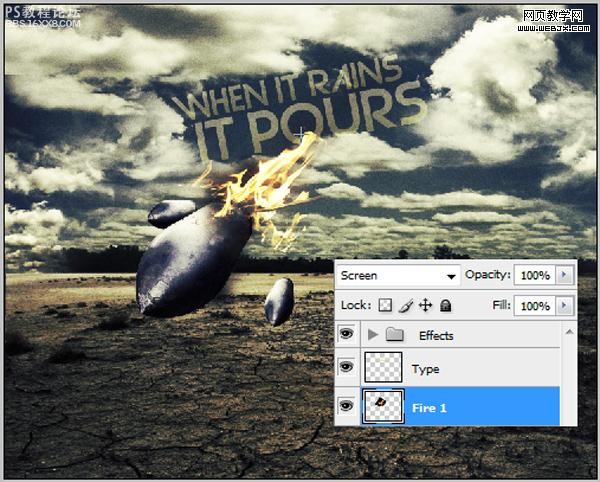
下面我们添加火效果。打开火的素材,调整大小,设置图层模式为滤色。
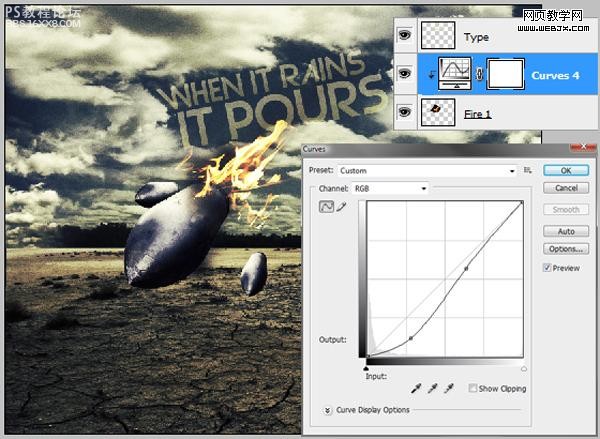
,创建曲线调整图层
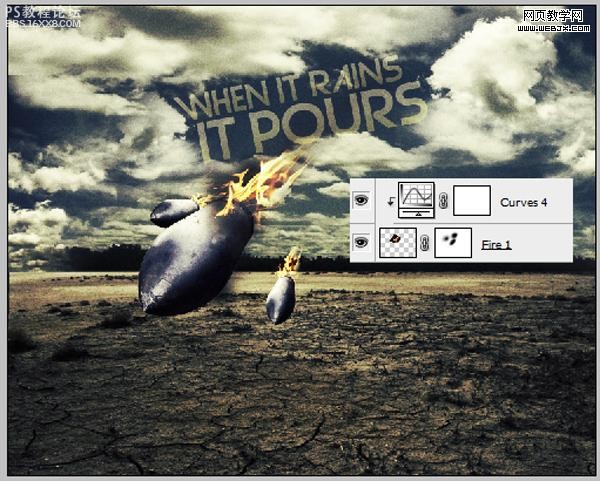
复制火图层,然后调整图层位置到小飞弹图层之上。

添加图层蒙板,画笔涂抹蒙板。
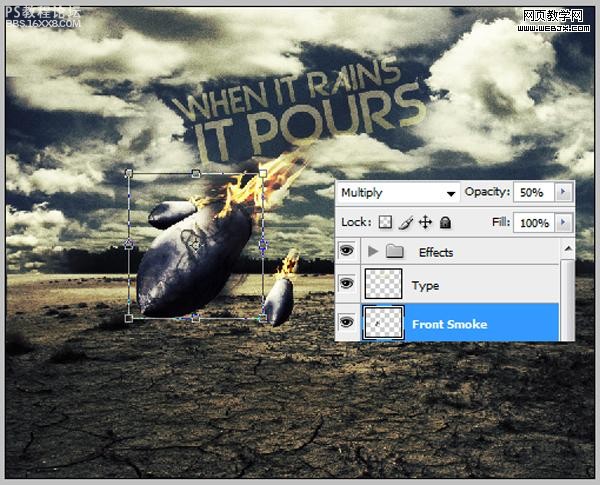
添加烟的效果,打开烟素材,然后按CTRL+T调整大小。
,下面我们添加雨的特效,设置一个斜的白色的矩形
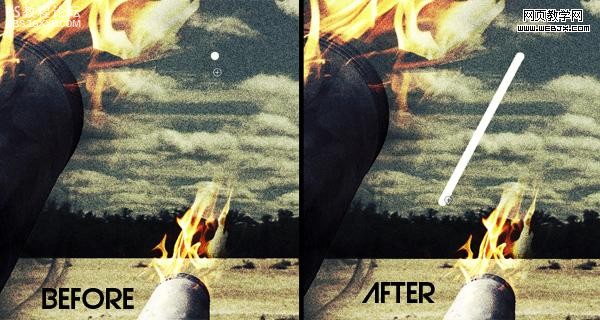
动感模糊
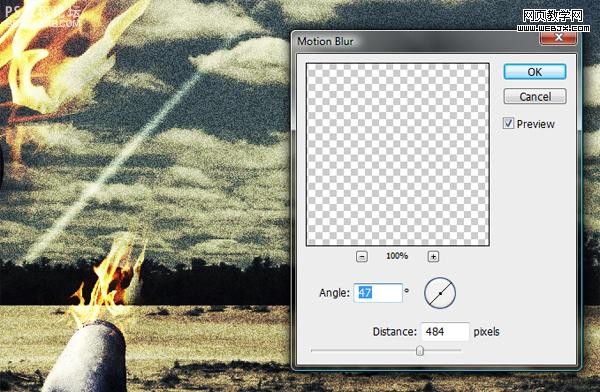
同样方法重复多次,调整大小和位置。
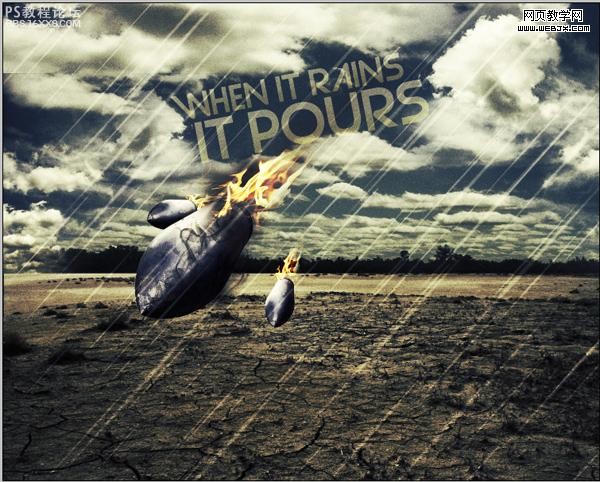
,然后添加一个渐变特效
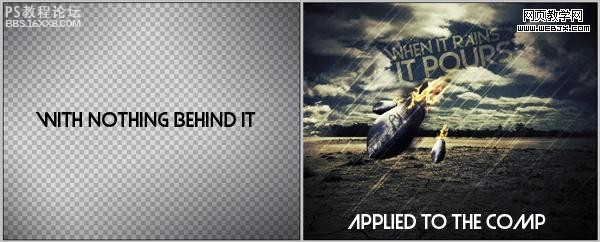
然后创建图层蒙板,擦除一些不需要的部分。
最后给飞弹添加阴影,这个就简单了
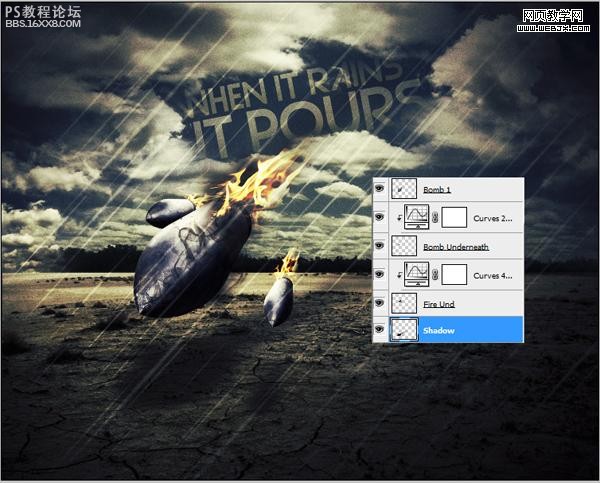
最终效果

下一篇:ps合成山坡上的塔楼场景
相关推荐

PS照片合成火焰天使图片

ps照片合成三个炮筒的坦克车

PS照片合成童话场景

ps照片合成落日场景

合成行驶在梦幻森林中火车照片的PS教程

合成恐怖灵异双重曝光头像照片的PS教程

PS合成明亮夜色下的天使白狼场景图片

战争海报,PS合成战争电影主题海报图片设计教程


