Photosho处理写意人物图片柔和的淡暖色
2022-12-26 00:07:13
来源/作者: /
己有:11人学习过
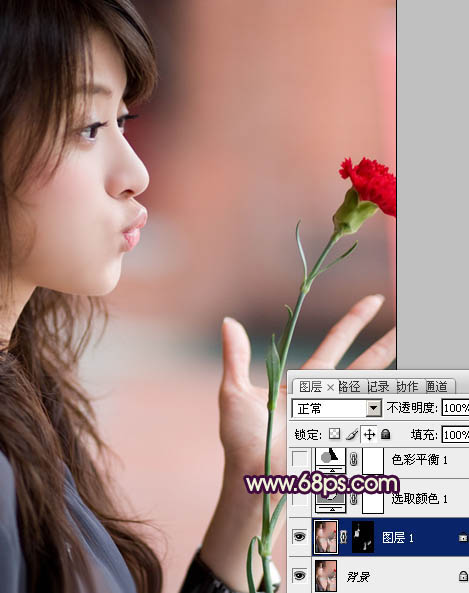
1、打开原图素材,把背景图层复制一层,简单给人物磨皮,大致效果如下图。
2、创建可选颜色调整图层,对红、黄、绿、白、黑色进行调整,参数设置如图2 - 6,效果如图7。这一步微调人物肤色及背景颜色。
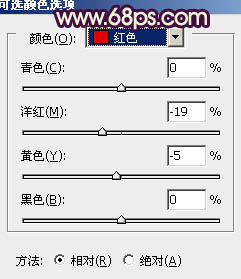
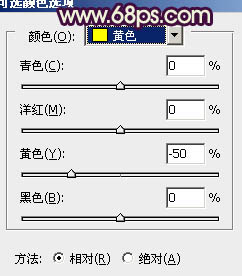
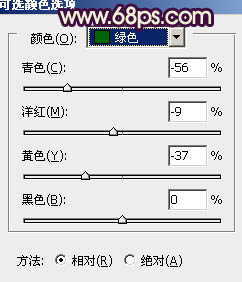
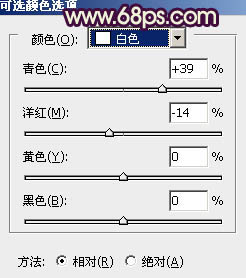
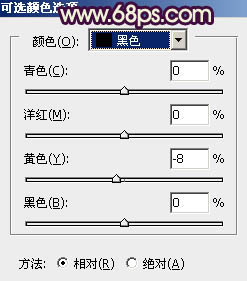
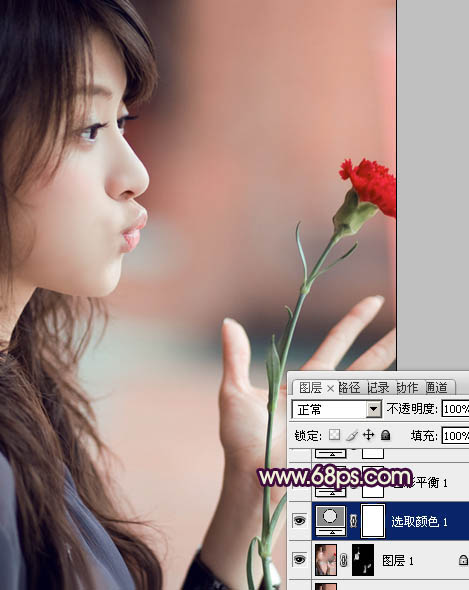
2、创建可选颜色调整图层,对红、黄、绿、白、黑色进行调整,参数设置如图2 - 6,效果如图7。这一步微调人物肤色及背景颜色。
上一篇:PS制作个性的金黄色效果教程
相关推荐

ps质感中性色调人物调色教程

ps淡蓝色人物调色教程

PS成签教程:你是我唯一的爱-----人
![[非主流PS教程] 非主流图片制作教](https://img.lvups.com/d/file/titlepic/2022/12/25/ezubq003eyi.jpg)
[非主流PS教程] 非主流图片制作教

ps调出高级复古欧美色调教程

PS夜景美化:调出唯美蓝色夜景灯光照片效果

调出绚丽蓝天白云山水风景图片的PS教程

调出金色晨曦森林儿童背影照片的PS教程


