ps打造淡雅的青黄色外景婚纱照片
2022-12-25 23:49:35
来源/作者: /
己有:21人学习过
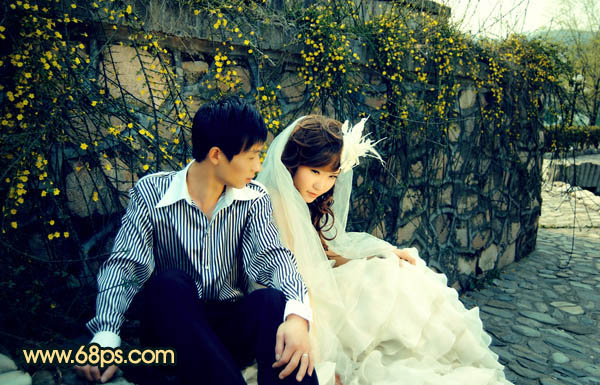
7、创建可选颜色调整图层,对红色进行调整,把肤色稍微调红一点,效果如下图。

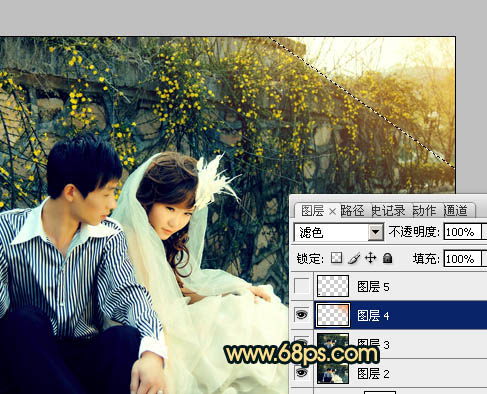
8、新建一个图层混合模式改为“滤色”,把前景颜色设置为橙黄色:#FA9719,用画笔把右上角部分涂上高光,效果如下图。

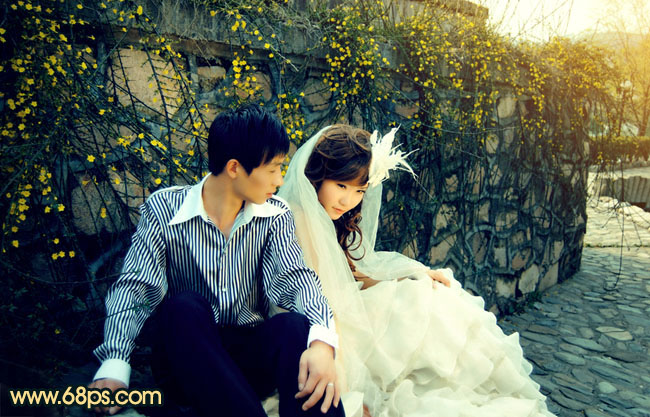
最后微调一下细节,完成最终效果。


8、新建一个图层混合模式改为“滤色”,把前景颜色设置为橙黄色:#FA9719,用画笔把右上角部分涂上高光,效果如下图。

最后微调一下细节,完成最终效果。

上一篇:ps调出外景婚纱照温馨柔美色调


![[非主流PS教程] 非主流图片制作教](https://img.lvups.com/d/file/titlepic/2022/12/25/ezubq003eyi.jpg)


