ps打造晨曦中唯美的江景芦苇婚纱照片
2022-12-25 23:11:38
来源/作者: /
己有:48人学习过
5、按Ctrl + J 把当前可选颜色调整图层复制一层,不透明度改为:50%,效果如下图。这一步同上增强画面的暖色调。

6、创建色彩平衡调整图层,对阴影、中间调、高光进行调整,参数设置如图16 - 18,确定后把图层不透明度改为:20%,效果如图19。这一步微调背景颜色和层次。
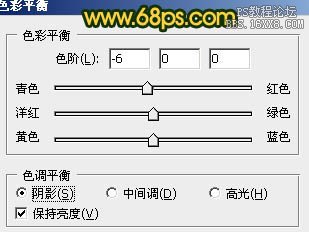
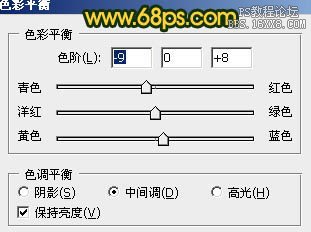
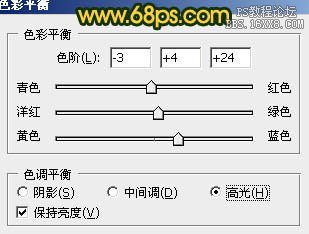
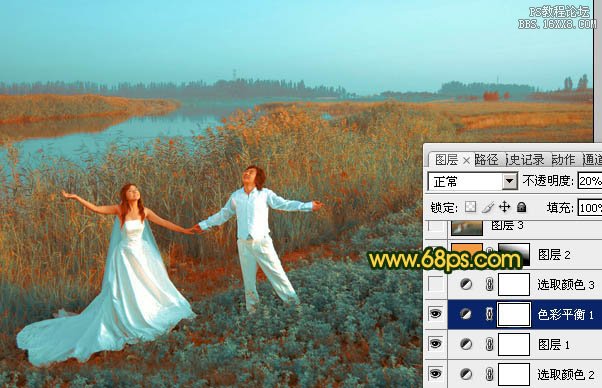
6、创建色彩平衡调整图层,对阴影、中间调、高光进行调整,参数设置如图16 - 18,确定后把图层不透明度改为:20%,效果如图19。这一步微调背景颜色和层次。
上一篇:ps给过曝的美女图片增加甜美肤色
相关推荐

ps质感中性色调人物调色教程

ps淡蓝色人物调色教程

PS成签教程:你是我唯一的爱-----人
![[非主流PS教程] 非主流图片制作教](https://img.lvups.com/d/file/titlepic/2022/12/25/ezubq003eyi.jpg)
[非主流PS教程] 非主流图片制作教

ps调出高级复古欧美色调教程

PS夜景美化:调出唯美蓝色夜景灯光照片效果

调出绚丽蓝天白云山水风景图片的PS教程

调出金色晨曦森林儿童背影照片的PS教程


