Photoshop制作非常酷的金属纹理火焰字
2019-04-25 10:11:54
来源/作者: 自媒体 / 锟栋
己有:709人学习过
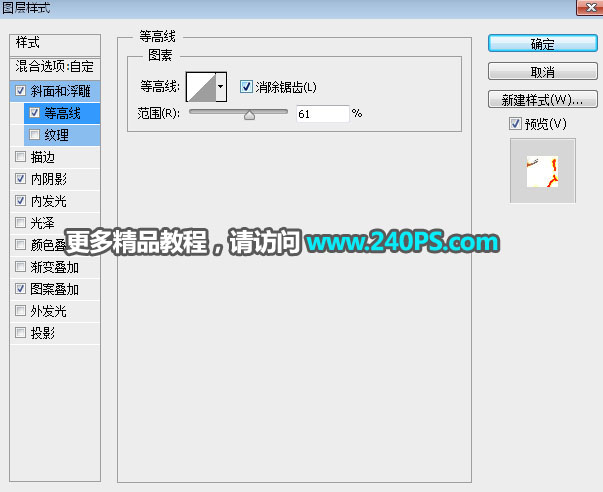
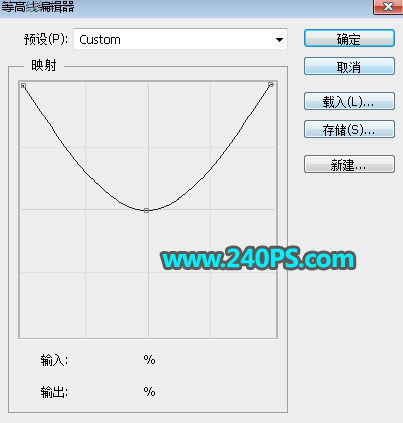
等高线
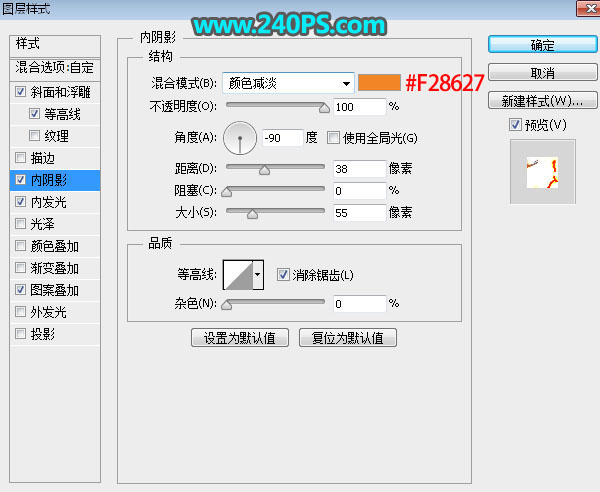
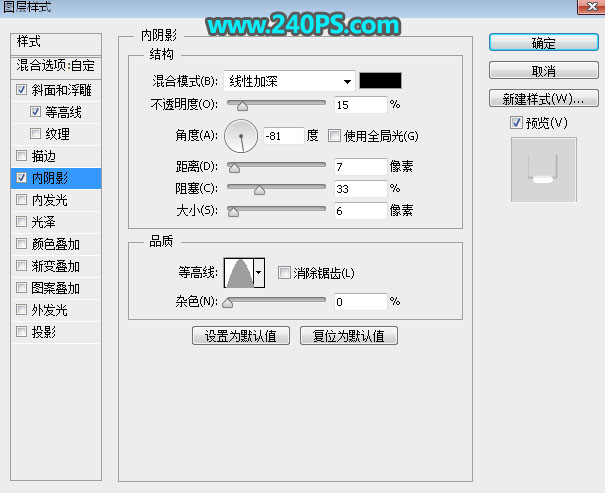
内阴影
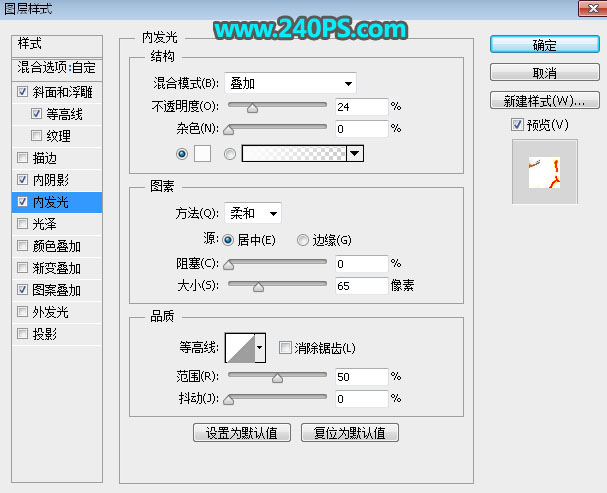
内发光
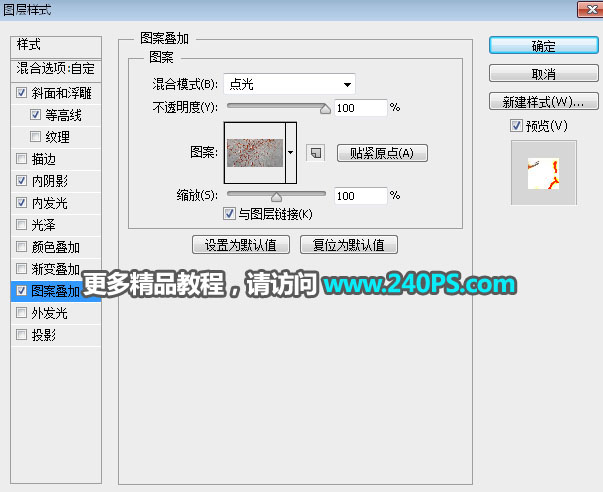
图案叠加:图案选择定义的第三个图案。
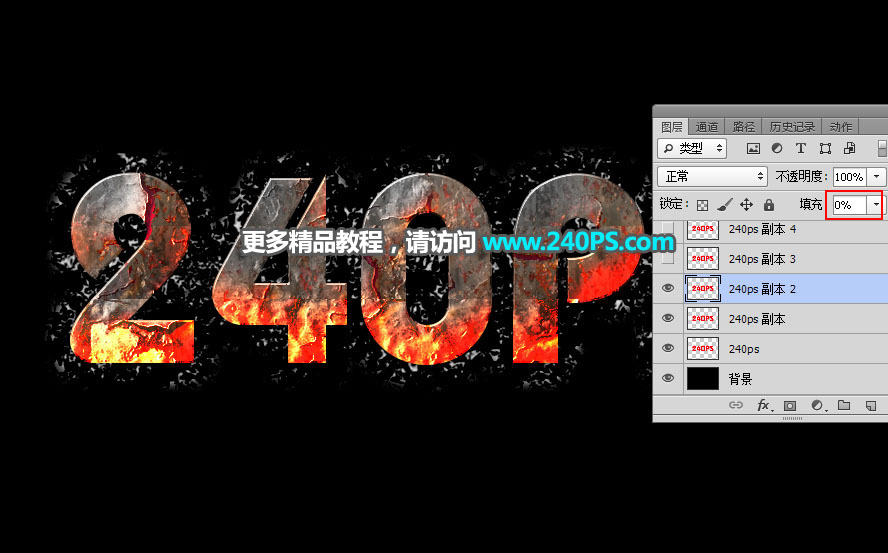
12、确定后把填充改为0%,效果如下图。
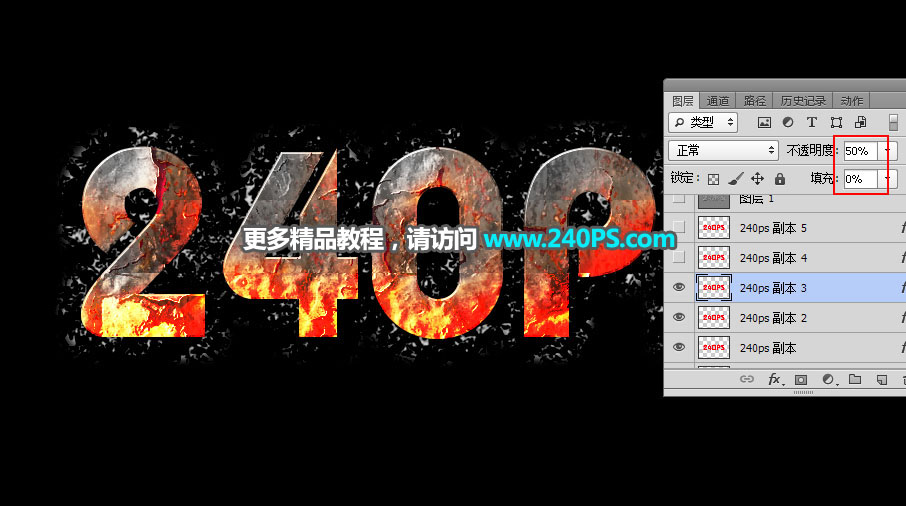
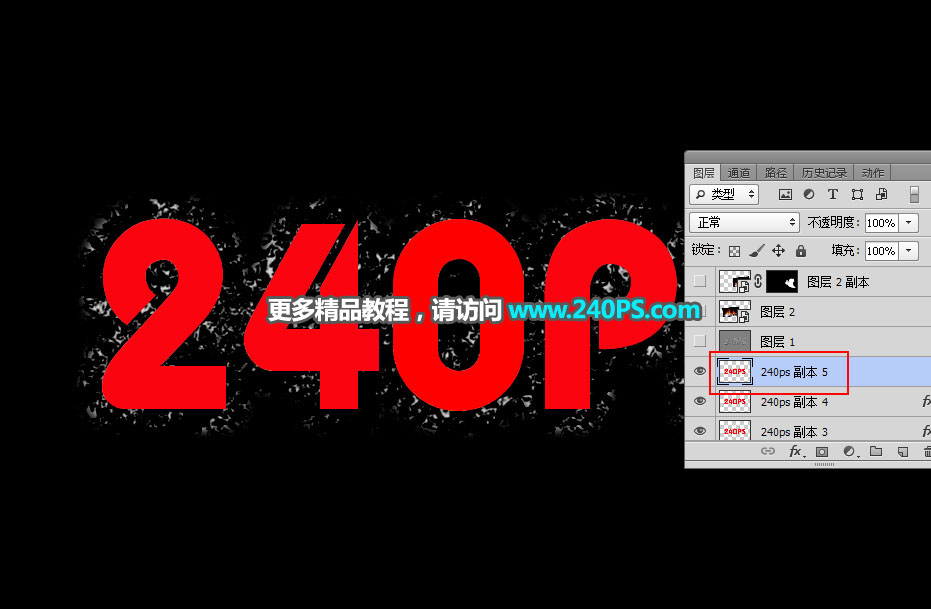
13、按Ctrl + J 把当前文字图层复制一层,不透明度改为50%,效果如下图。
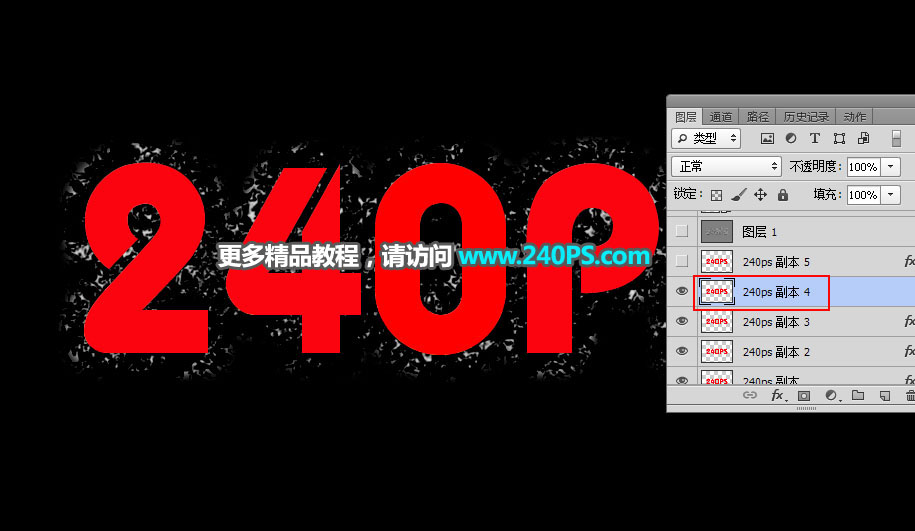
14、按Ctrl + J 把当前文字图层复制一层,得到文字副本4,然后清除图层样式,效果如下图。
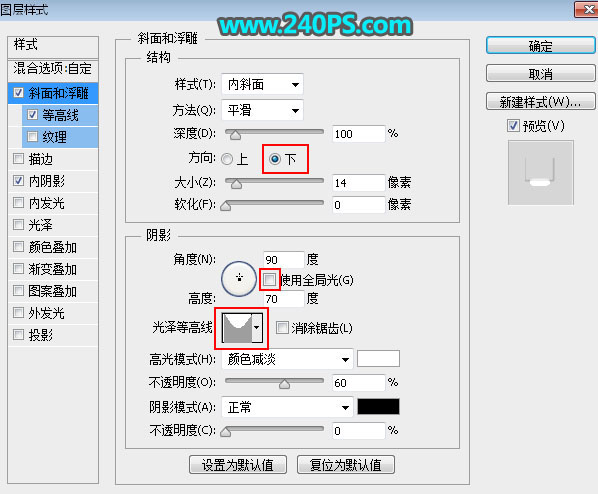
15、给当前文字图层设置图层样式。斜面和浮雕
内阴影
16、确定后把填充改为0%,效果如下图。
17、按Ctrl + J 把当前文字图层复制一层,得到文字副本5,然后清除图层样式,效果如下图。
18、给当前文字图层设置图层样式。斜面和浮雕
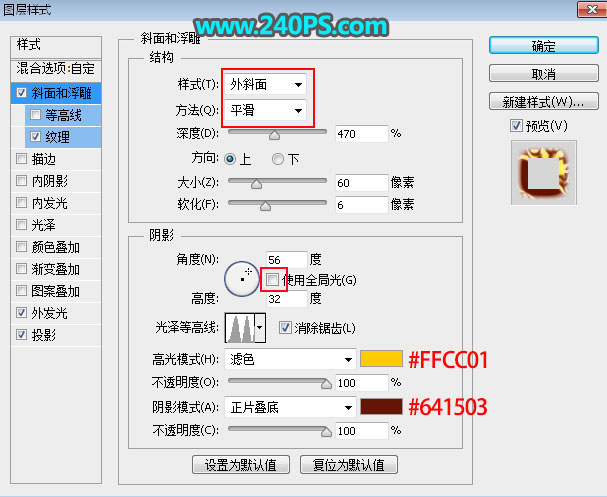
纹理:选择定义的第一个图案。

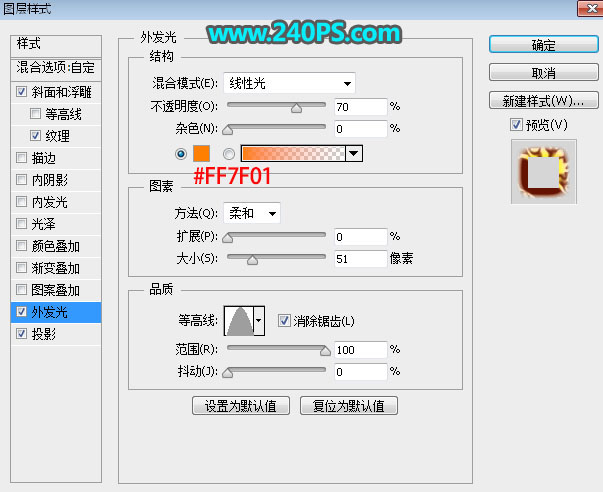
外发光
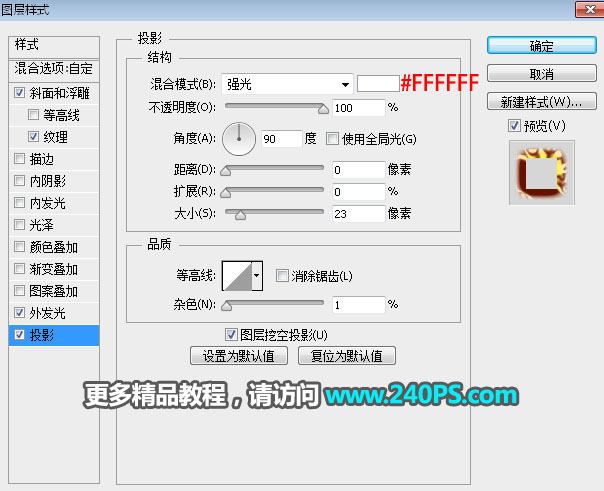
投影
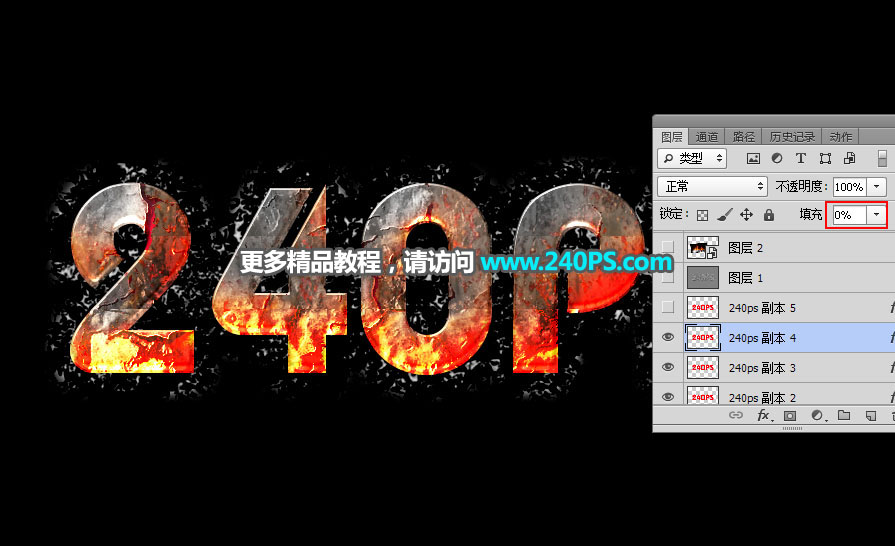
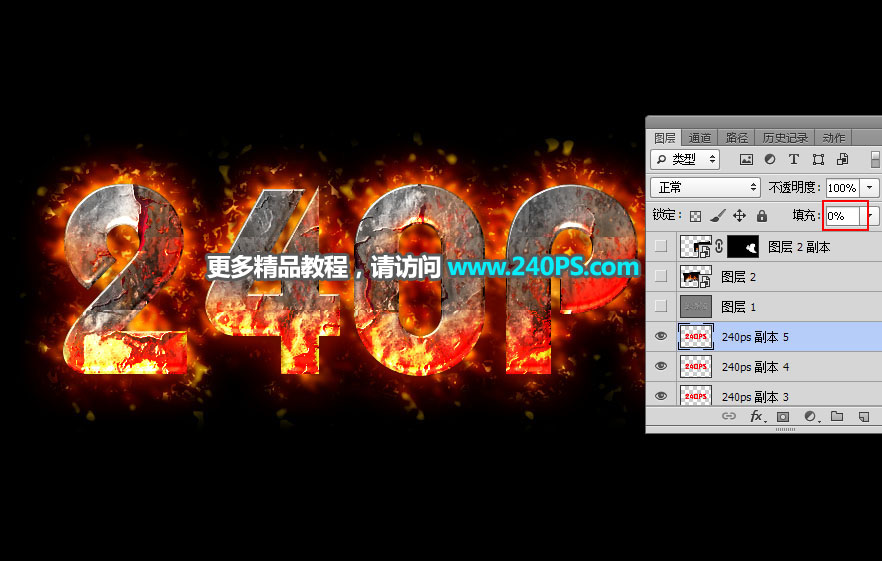
19、确定后把填充改为0%,效果如下图。
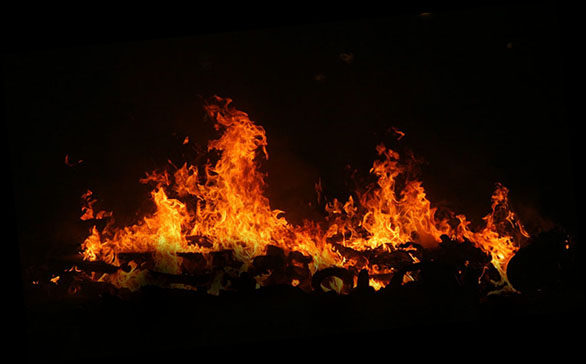
20、打开下图所示的火焰素材,用移动工具拖进来,把混合模式改为“滤色”,然后调整好位置。

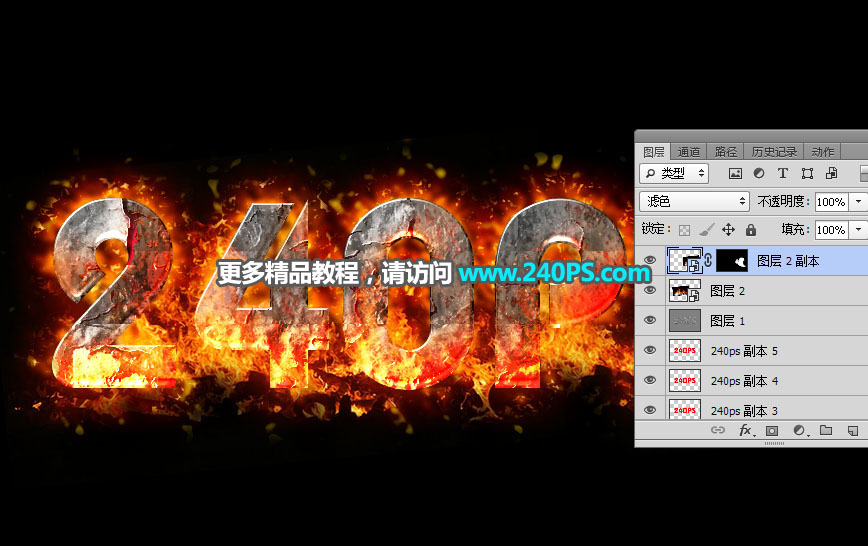
21、按Ctrl + J 把当前火焰素材复制一层,移到文字右侧,添加图层蒙版,用柔边黑色画笔擦掉不需要的部分,效果如下图。
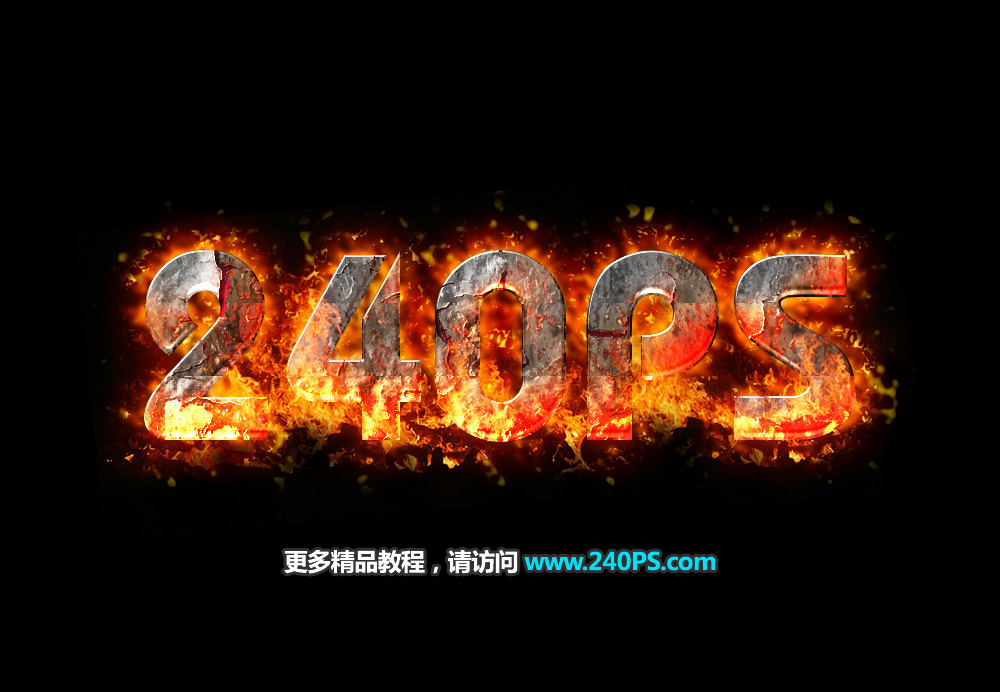
最终效果
相关推荐

Photoshop制作非常酷的五一火焰纹

Photoshop制作喜庆华丽的恭贺新年

Photoshop制作带光晕的金属火焰字

Photoshop如何制作苍劲有力的岩石

Photoshop如何制作逼真的火焰字

Photoshop如何制作大气的五一火焰书法字
Photoshop制作带光晕的金属火焰字
Photoshop制作非常酷的五一火焰纹理字